Set up an Integration System User
1
Search for Create Integration System User
Search and navigate to the 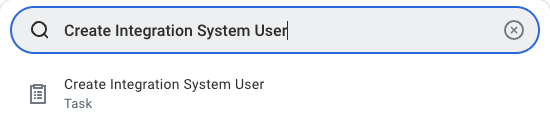
Create Integration System User task.2
Enter account information
Enter a username and password in the Account Information section.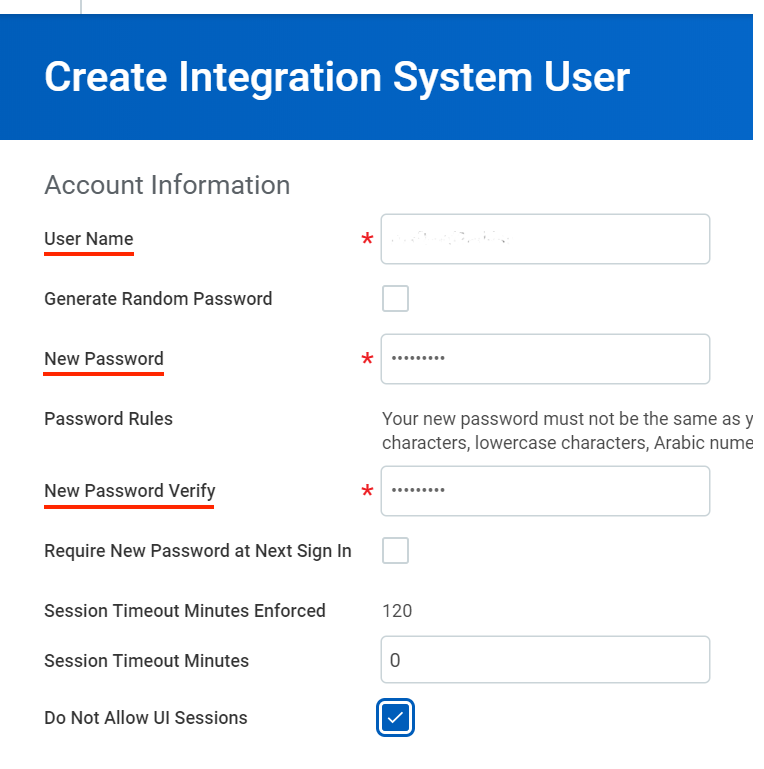
OK to create the user.Create Custom Report
1
Navigate to Report Designer
Enter “Create Custom Report” in the Workday search bar and select it from the results.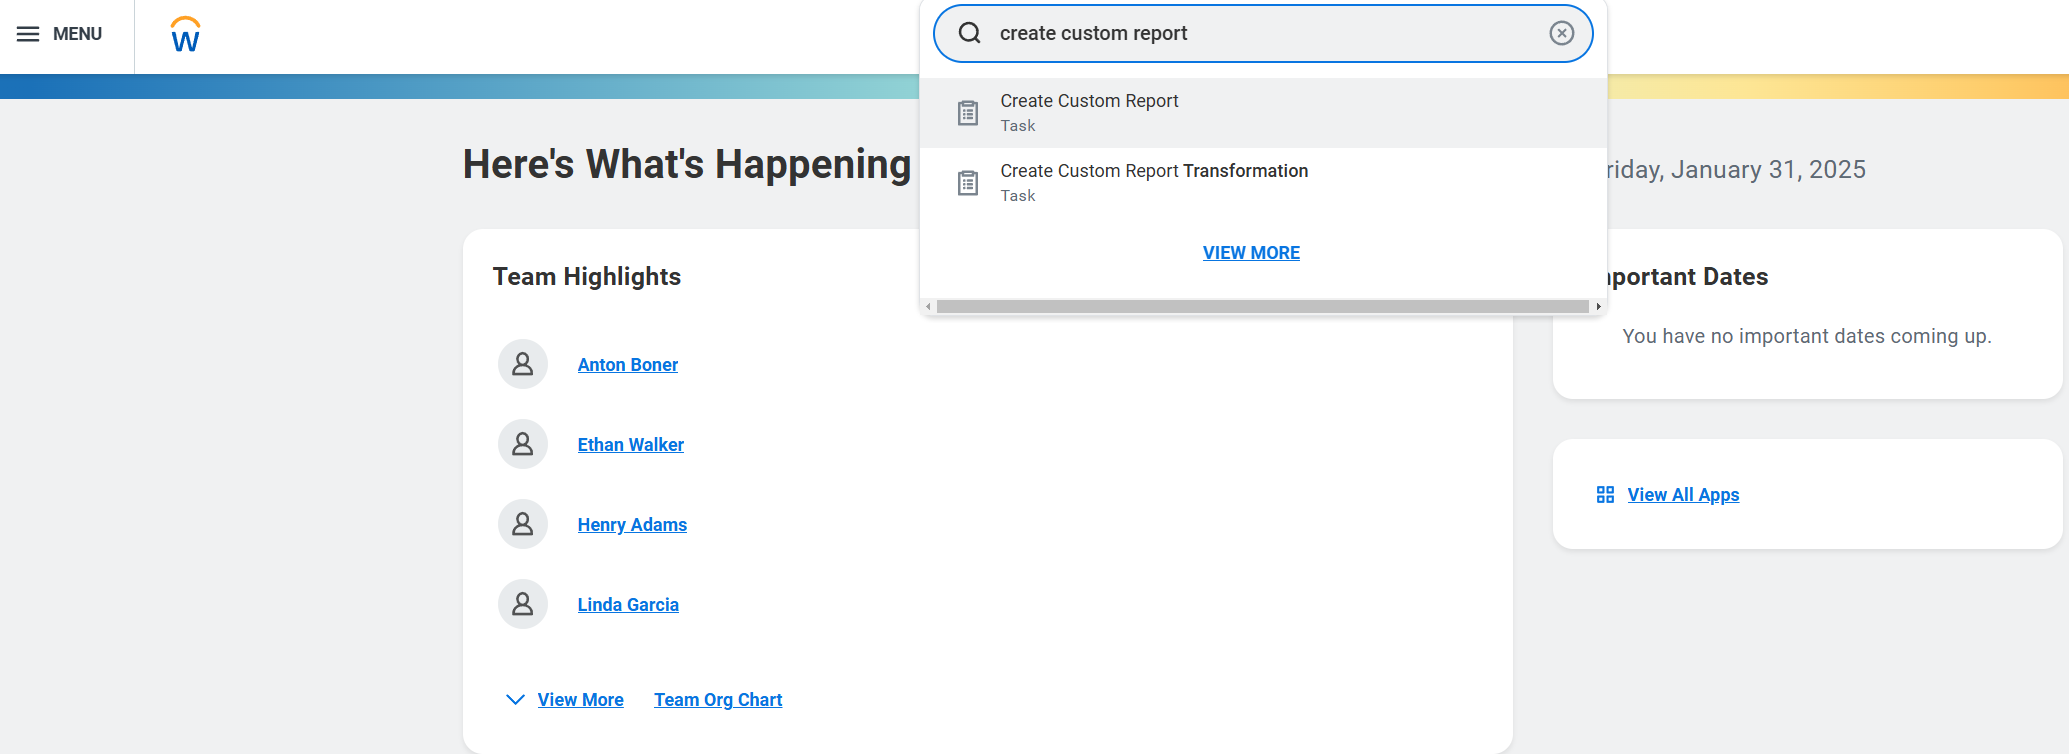
2
Initialize Report Creation
Click “Create Custom Report” to begin the setup process.
Configure Report Settings
1
Set Report Properties
Enter the required information: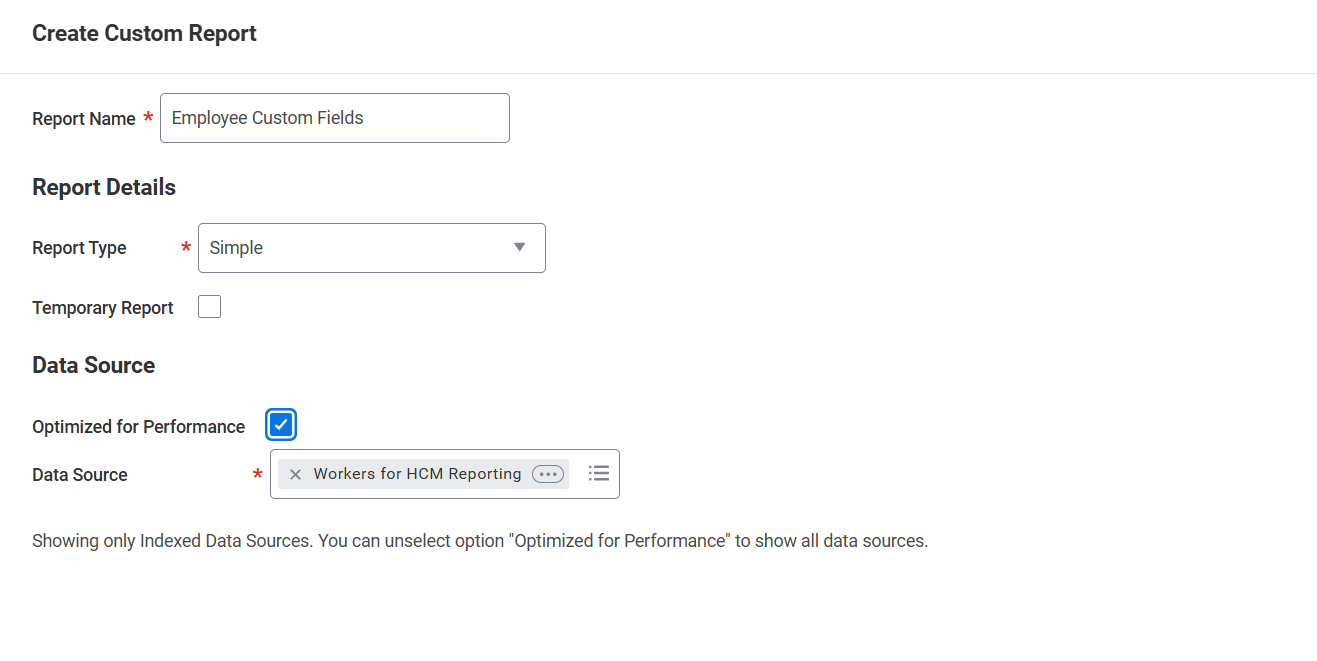
- Report Name: Must be unique within your tenant
- Report Type: Select “Simple”
2
Select Data Sources
Choose the appropriate data sources for your report based on the information you need to extract.
3
Configure Fields
Add and configure the necessary fields for your integration: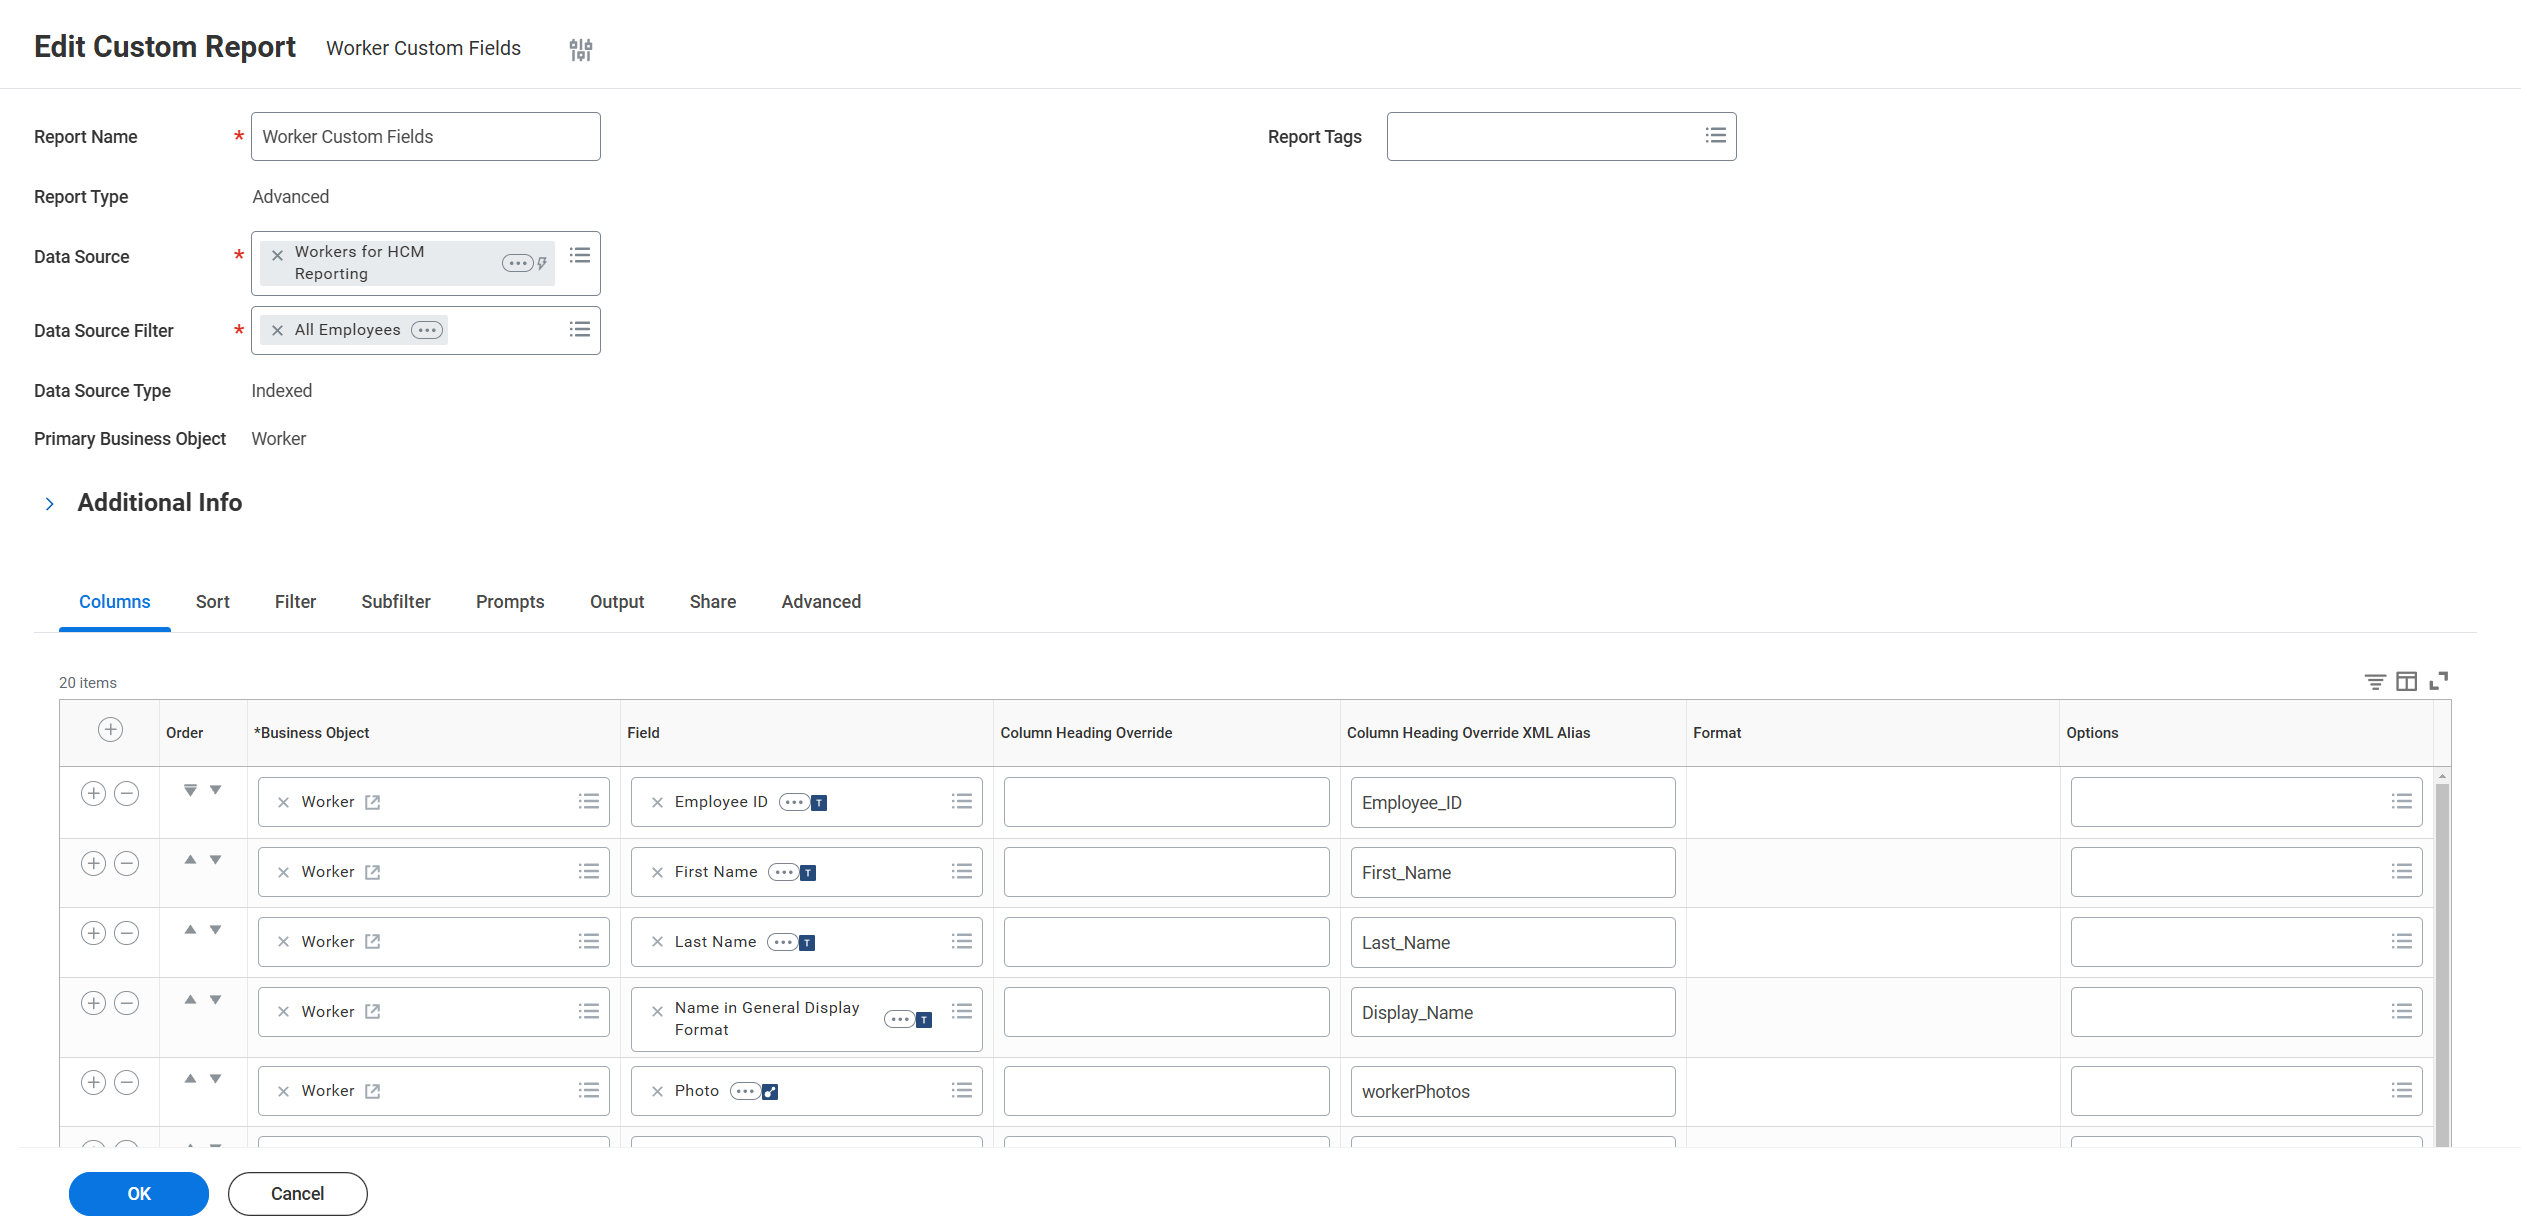
- Click “Add Field”
- Select the source object
- Choose the specific field
- Configure field properties as needed
- Set each “Column Heading Override XML Alias” to the corresponding field names
For employee data, you may want to include fields such as:
- Employee_ID
- First_Name
- Last_Name
- Display_Name
- Email_Work
- Email_Home
- Phone_Work
- Phone_Home
- Job_Title
- Hire_Date
- Gender
- Date_Of_Birth
- Termination_Date
- Company_Name
4
Add Filters (Optional)
Add filters to refine the data displayed in your report. You can select the field and operators to filter by.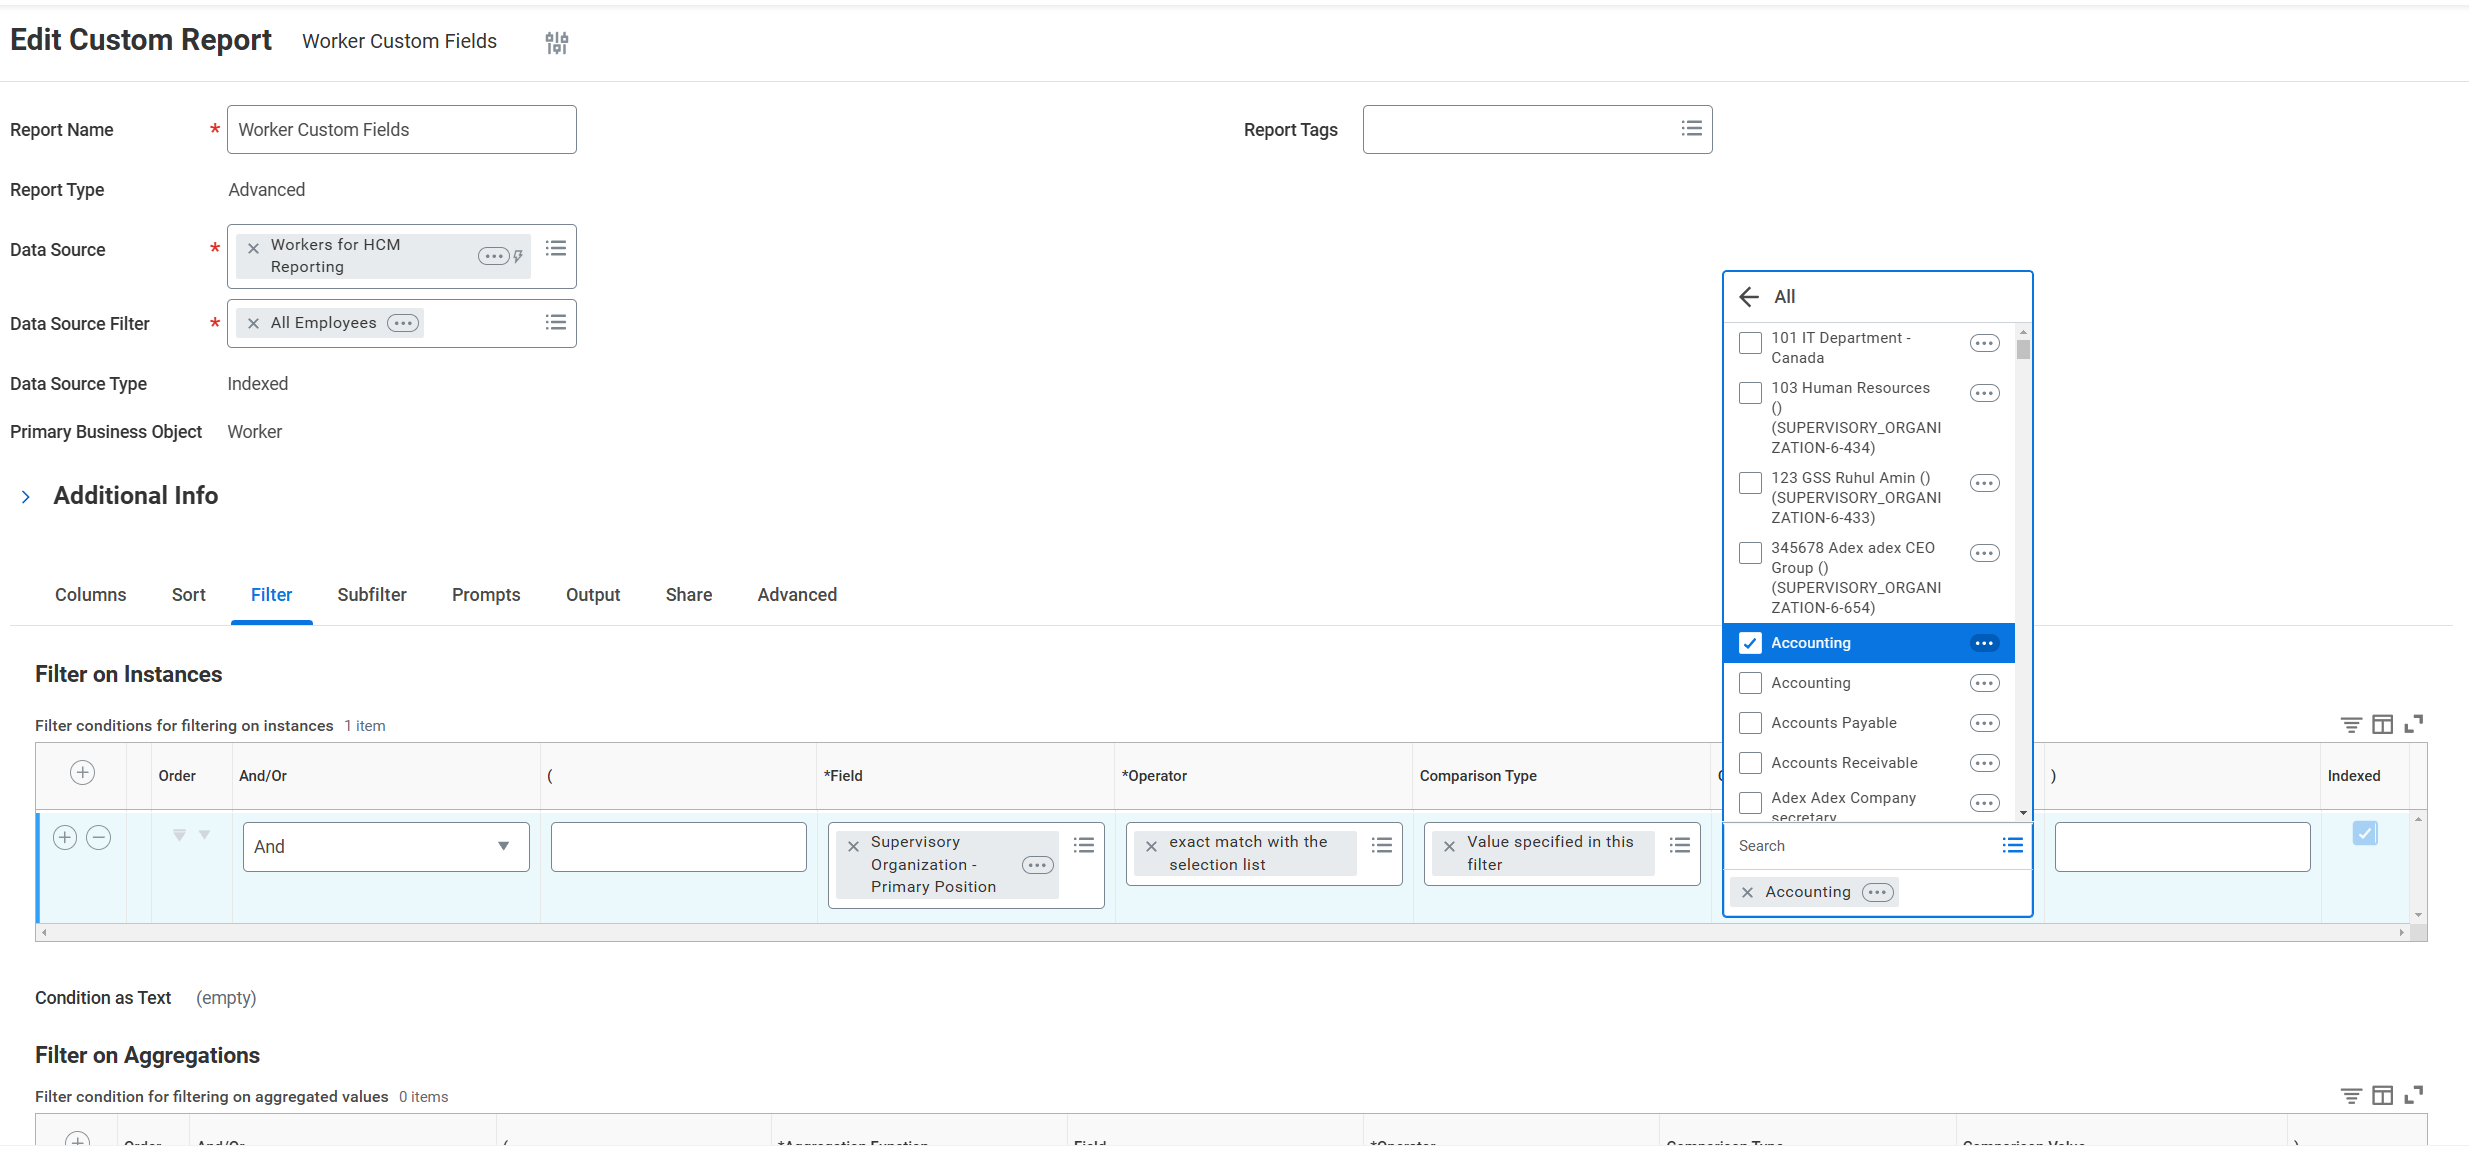
Enable RaaS Settings
1
Configure RaaS
Navigate to the “Advanced” tab and enable web service settings:
- Check “Enable as Web Service”
- Press “OK” to save
2
Find Report URL
Press the three-dot menu and select “Web Service” => “View URLs”.
3
Copy Report URL
Copy the URL and save it. This will be used to configure the integration.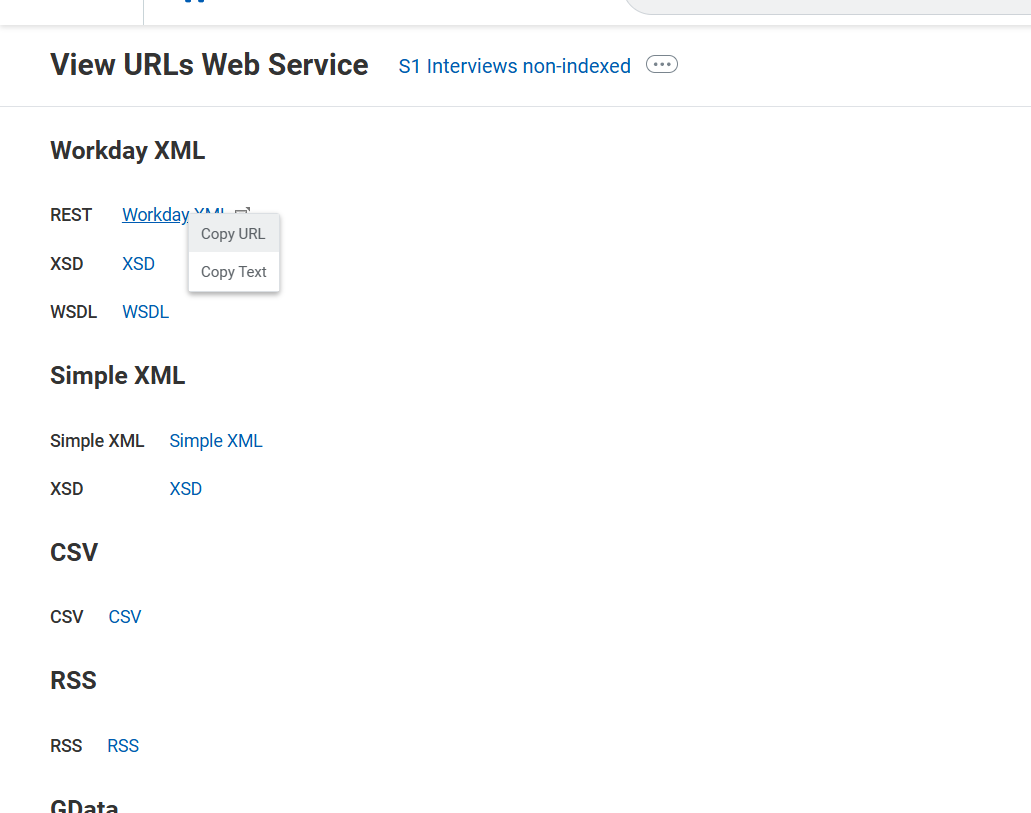
Configure Security Group Permissions
1
Create Security Group
Search for “Create Security Group” and select “Integration System Security Group (Unconstrained)” as the type. Enter a name for the security group and add the Integration System User you created earlier.
2
Set Report Permissions
Ensure the Integration System User has access to the custom report:
- Navigate to “Maintain Permissions for Security Group”
- Select your security group
- Grant Get Only access to the custom report
- Verify the ISU has access to the report’s data source
Approve Security Policy Changes
1
Activate Pending Changes
In the Search bar, search for “Activate Pending Security Policy Changes”. Review the policies that need approval in the summary of the changes in the security policy. Approve the pending security policy changes to activate them.
Linking your Account
Now that you have all the required information, you can link your account.1
Access Integrations
Navigate to the Integrations page in your platform.
2
Find Workday RaaS
Search for Workday RaaS in the list of available integrations and click on it.
3
Enter Connection Details
Fill in the required fields with the information you gathered:
- Report URL: The URL you copied from the custom report
- Username: The Integration System User username
- Password: The Integration System User password
4
Test and Save
Click Test Connection to verify the connection, then click Save to complete the integration.
Congratulations, you’re all set! If you face any issues with the steps mentioned above, please contact us by emailing integrations@stackone.com. We’re always here to assist you!
Available data
This integration provides access to custom report data from Workday. The available data depends on the fields you configured in your custom report and can include:- Employee Information
- Job Details
- Compensation Data
- Organizational Information
- Time Off and Leave
- Custom Fields
Troubleshooting
1
Authentication Issues
If experiencing authentication errors:
- Verify security group settings
- Check that the ISU has access to the report
- Ensure the username and password are correct
2
Performance Optimization
To improve performance:
- Use indexed fields where possible
- Use filters to limit the data returned
- Consider scheduling report generation during off-peak hours